Start an inspection job
Create an inspection job in CaseLens Pro with the client, the property owner, the inspection and the scope you agreed, kept separate. About 3 minutes.
Watch it (1:42, no sound)
- Signed in to CaseLens Pro, with your company set up.
- The client's name and how they're connected to the property, the property address, and what you agreed to inspect.
Step by step
1Choose the inspection workflow
On Jobs, click New job, then choose the named inspection under All workflows, for example Home inspection. Shortcuts above it reach Restoration / mitigation, Home inspection and Mold inspection directly. The questions for your selection appear; nothing about a water loss is asked unless you say the inspection is about one.
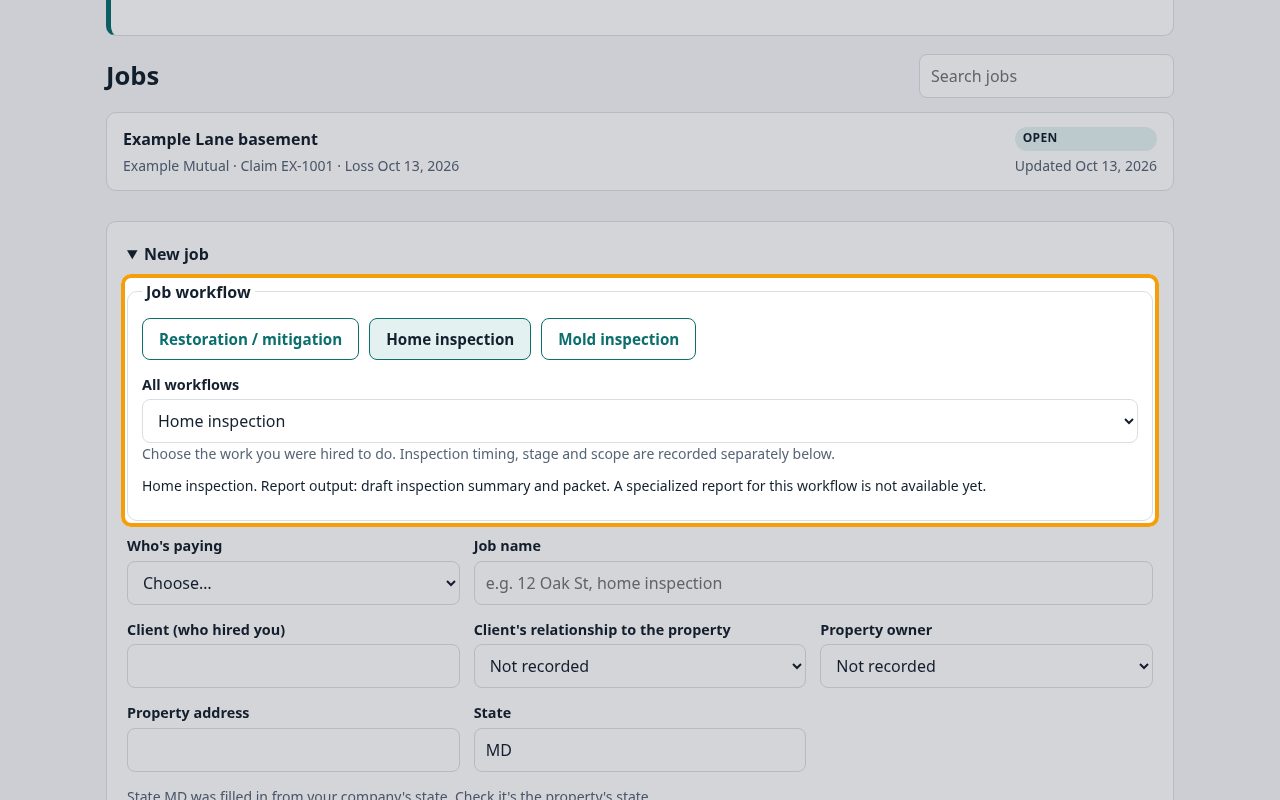
2Who hired you, and who owns the property
Pick Who's paying, name the job, and type the Client (who hired you). Choose the Client's relationship to the property (buyer, seller, owner, renter, landlord, property manager, association, agent). Under Property owner choose Not known, Same as the client (only for an owner, seller or landlord) or Someone else and type the owner's name. Add the Property address and check the State.
Tip: Who the client is, or who pays, doesn't make them the owner or give them authority for invasive work. Record what they authorized in the scope.
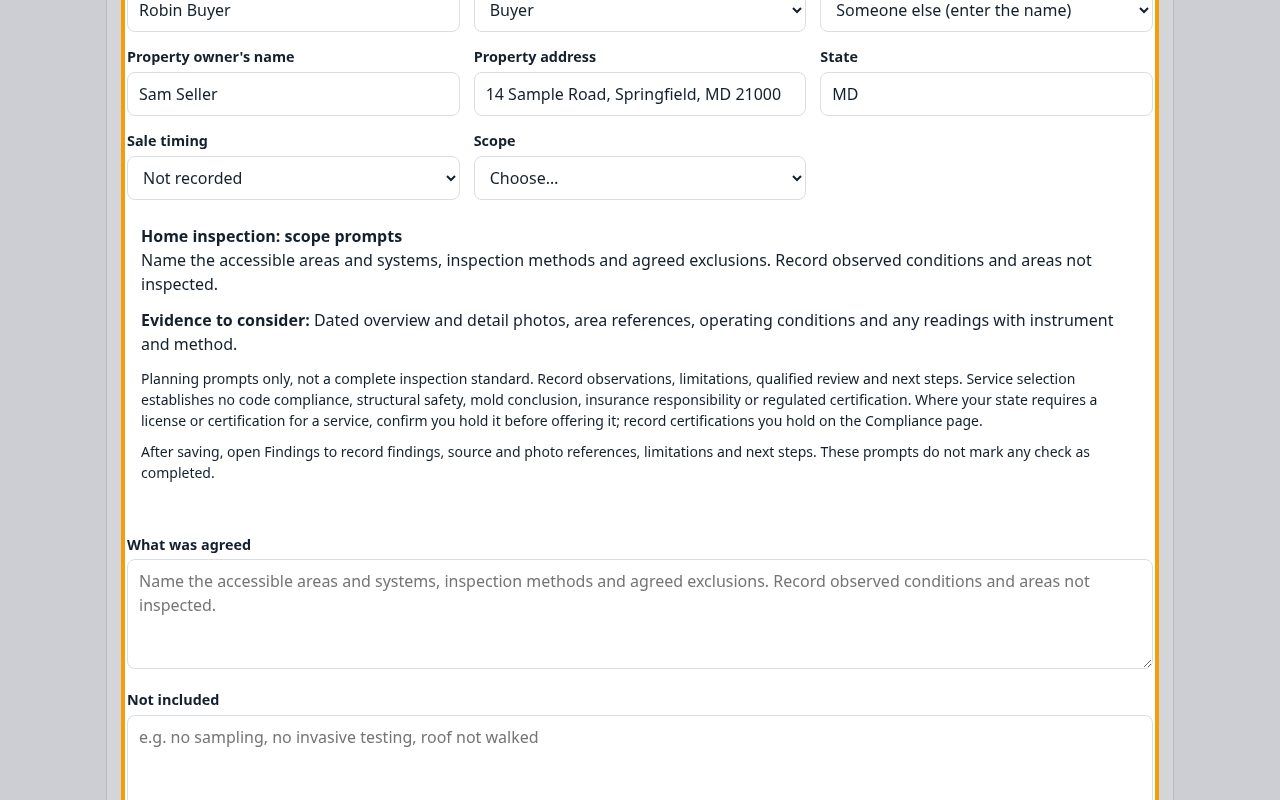
3The inspection and the scope you agreed
Check your selection under All workflows, then read its scope prompts, evidence suggestions and report output. Keep Sale timing and Scope separate. Write down What was agreed when required, plus what's Not included and any Access limits. Construction phase needs a phase; builder-warranty needs the actual submission deadline from the client's documents; rental condition needs its stage. Click Create job.
Tip: If the address names a different state from State, CaseLens stops and asks you to fix it. If the state was only filled in from your company's state, it asks you to confirm it.
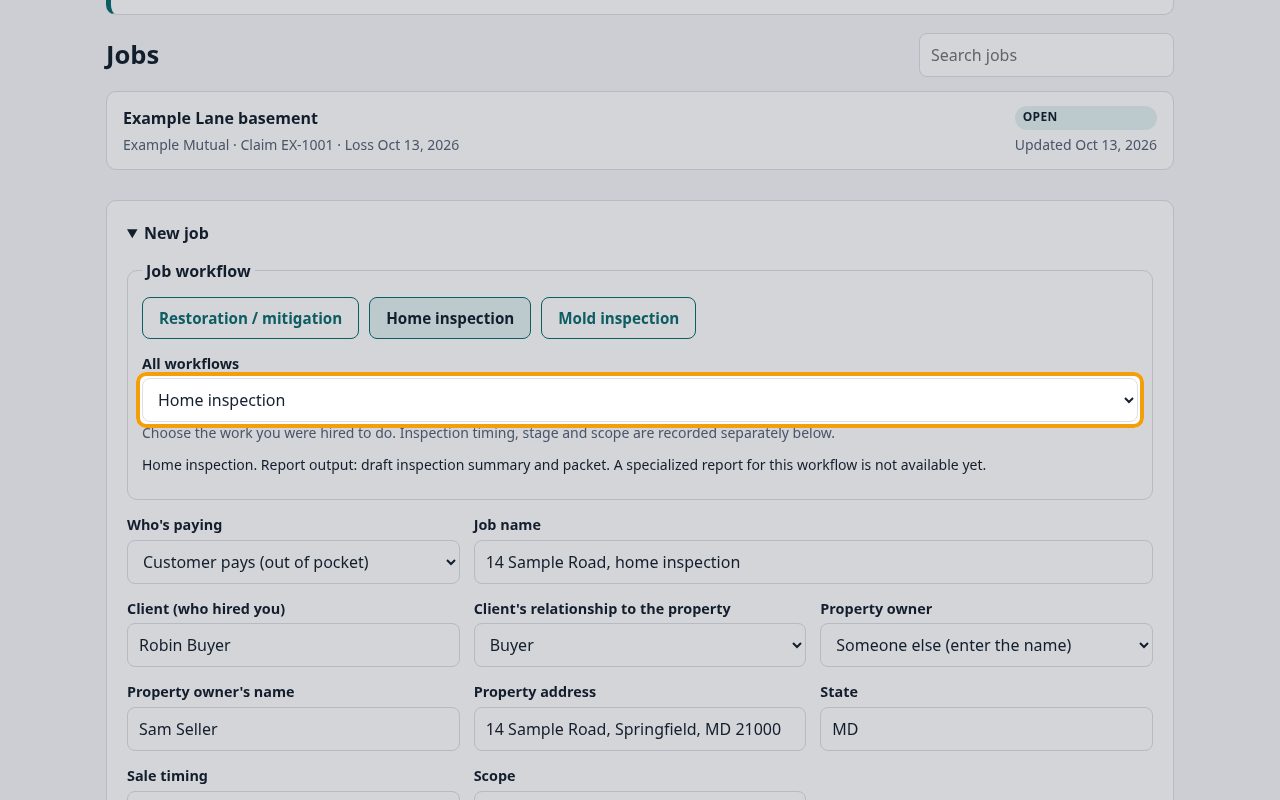
4Record your first finding
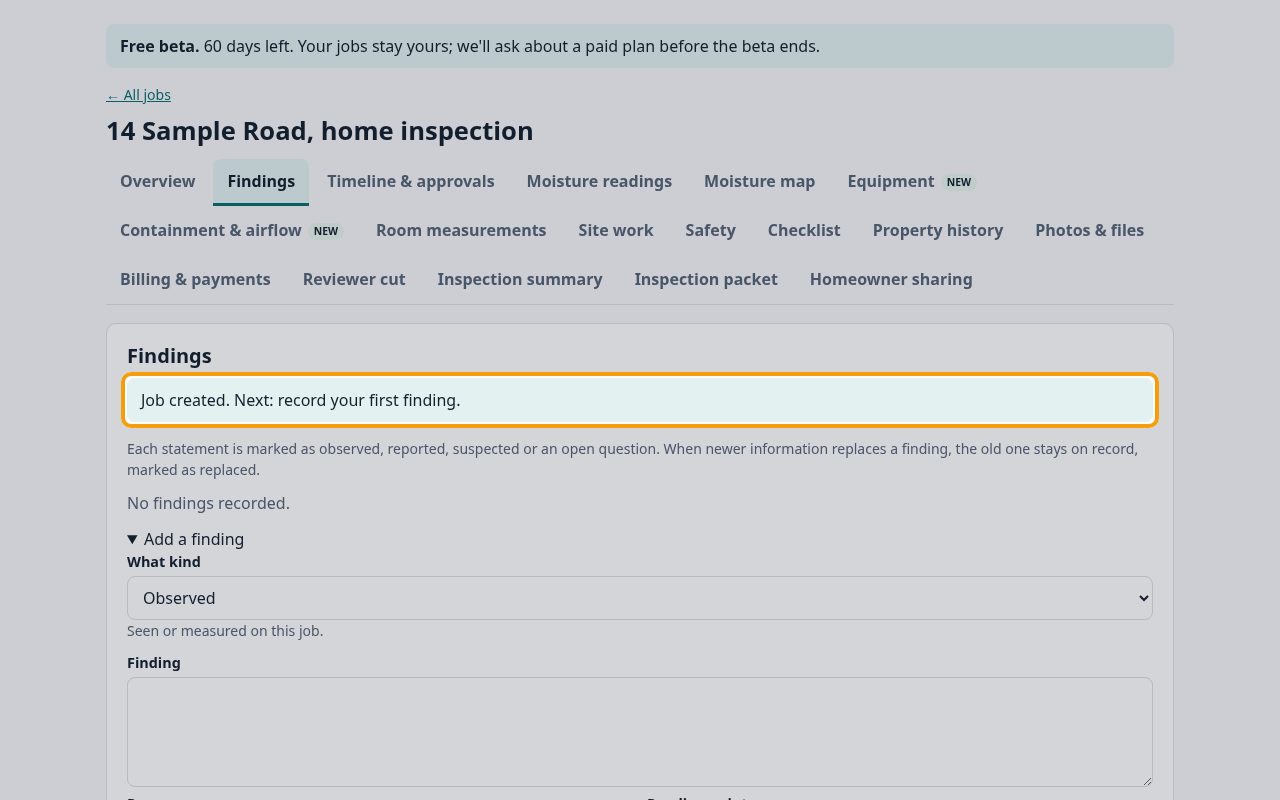
After Create job succeeds, Findings opens with Job created. Next: record your first finding. and the open Add a finding form. Describe what you saw and where, then click Add finding. To review the job details first, choose Overview.
5Check or change it later
The job's Overview tab shows the same questions under Job details: change the scope or the owner there if they change. If the inspection turns out to be about a water loss, tick This inspection is about a water loss or insurance claim to record the loss date, type of loss and water category.
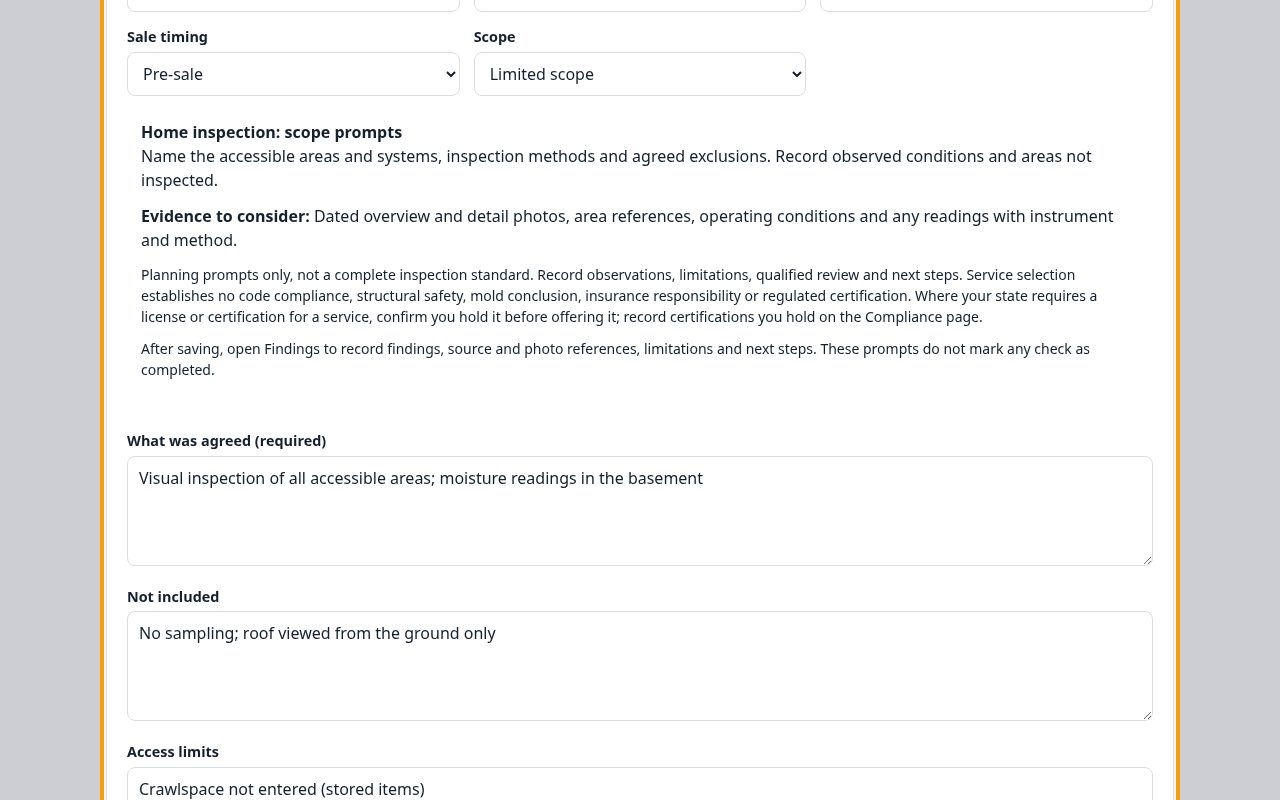
6Save and continue to findings
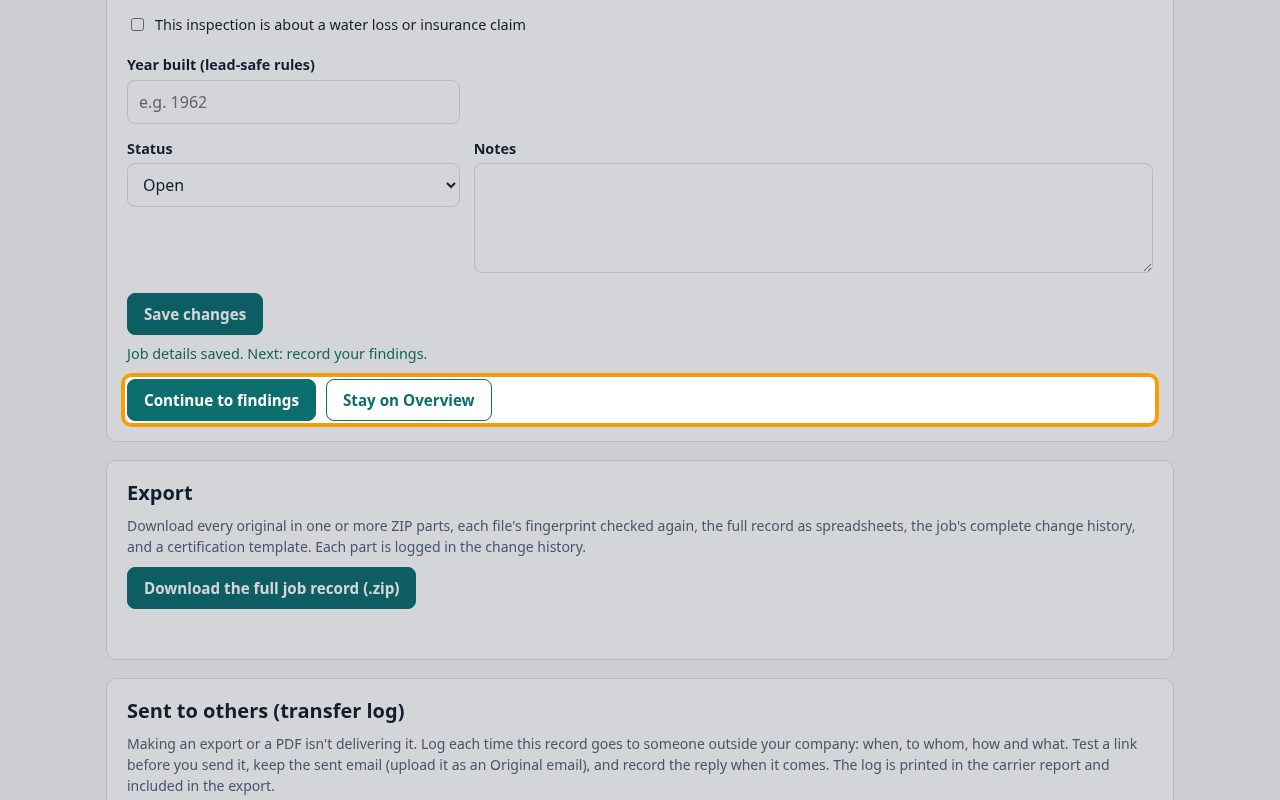
Click Save changes. Once the save succeeds, Job details saved. Next: record your findings. appears beside Continue to findings and Stay on Overview. Choose Continue to findings to open the existing Add a finding form, or Stay on Overview to keep checking the details.
7Find your next step again
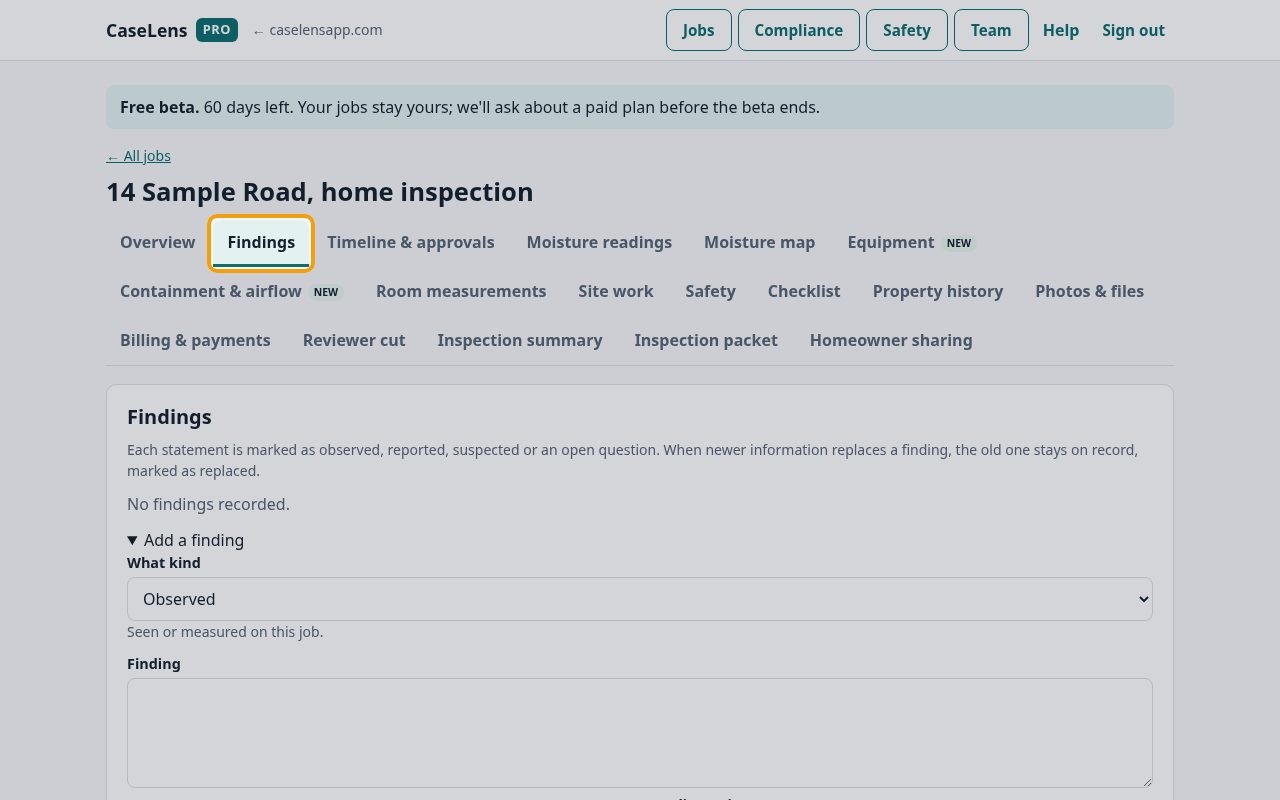
The Findings tab sits beside Overview on the job. It opens the findings and the Add a finding form; Open findings on Overview reaches the same place. Record what you saw, where you saw it and the next step, then click Add finding.
If something goes wrong
- I chose the wrong kind of job
- Open the job's Overview tab, change All workflows and save. Changing an inspection to a restoration job removes the inspection details.
- The client is a renter
- Choose Renter / tenant. A renter can be the client and can pay; the property owner is recorded separately, or as Not known.
What's next
- Complete a mold inspection and issue the reportRecord findings with their next steps and photos, check the inspection report and the client's action plan, issue the report, and add a dated addendum if something changes. About 15 minutes.
- Work with no signal in CaseLens Pro (in a browser)Get a job ready before you lose signal, add findings, photos and readings with no connection, then upload them, sort out anything refused and confirm everything arrived. This guide is for CaseLens Pro in a web browser; the CaseLens phone app has its own guides, marked Phone app. About 10 minutes.