Start a containment plan from a DocuSketch or Xactimate sketch
Load the job's sketch file and get every room, door, doorway and stairway, on every floor, in one step. About 5 minutes, then set up the containment as usual.
Watch it (1:21, no sound)
- The job's sketch exported as an .esx file (from DocuSketch or Xactimate), saved on the computer or phone you're using.
- Only the floor plan is read from the file (rooms, sizes, doors, stairs). Photos and the estimate inside it aren't read or stored.
Step by step
1Choose Import a sketch
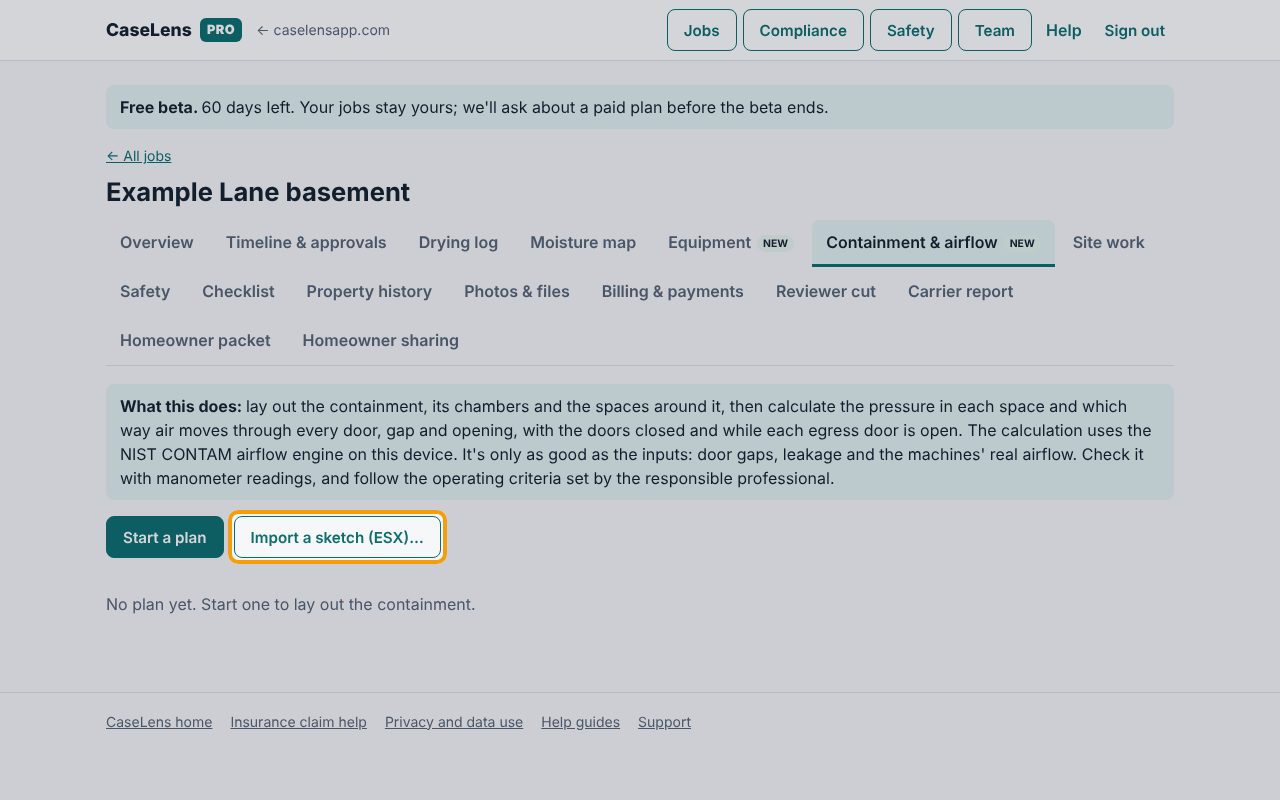
On the job's Containment & airflow tab, click Import a sketch (ESX)… and pick the .esx file.
2Check the preview
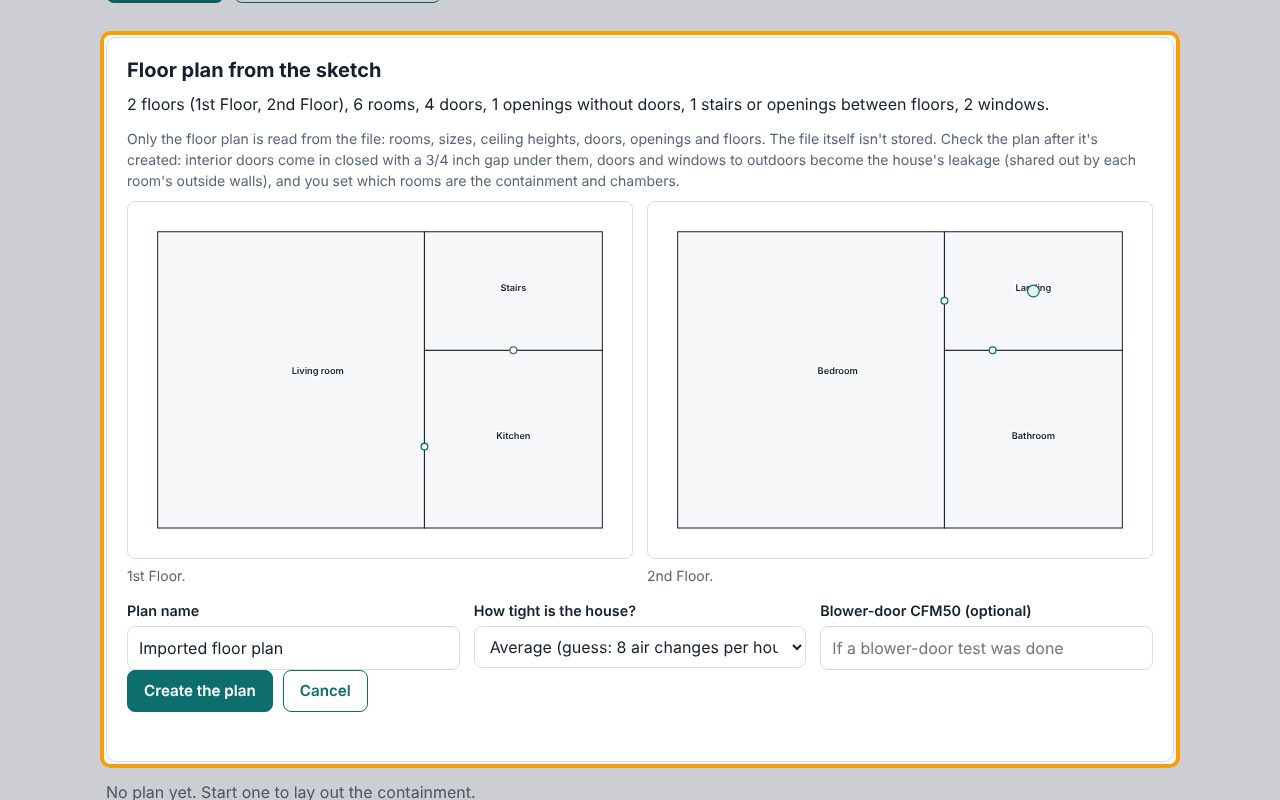
CaseLens shows what it found (floors, rooms, doors, openings, stairs and windows) and a drawing of each floor with the room names. Check the counts against the house. If a Check these list appears above the drawings, read it: for example a floor with no stairs to it, or a room the sketch left unnamed.
3Set the house's tightness and create the plan
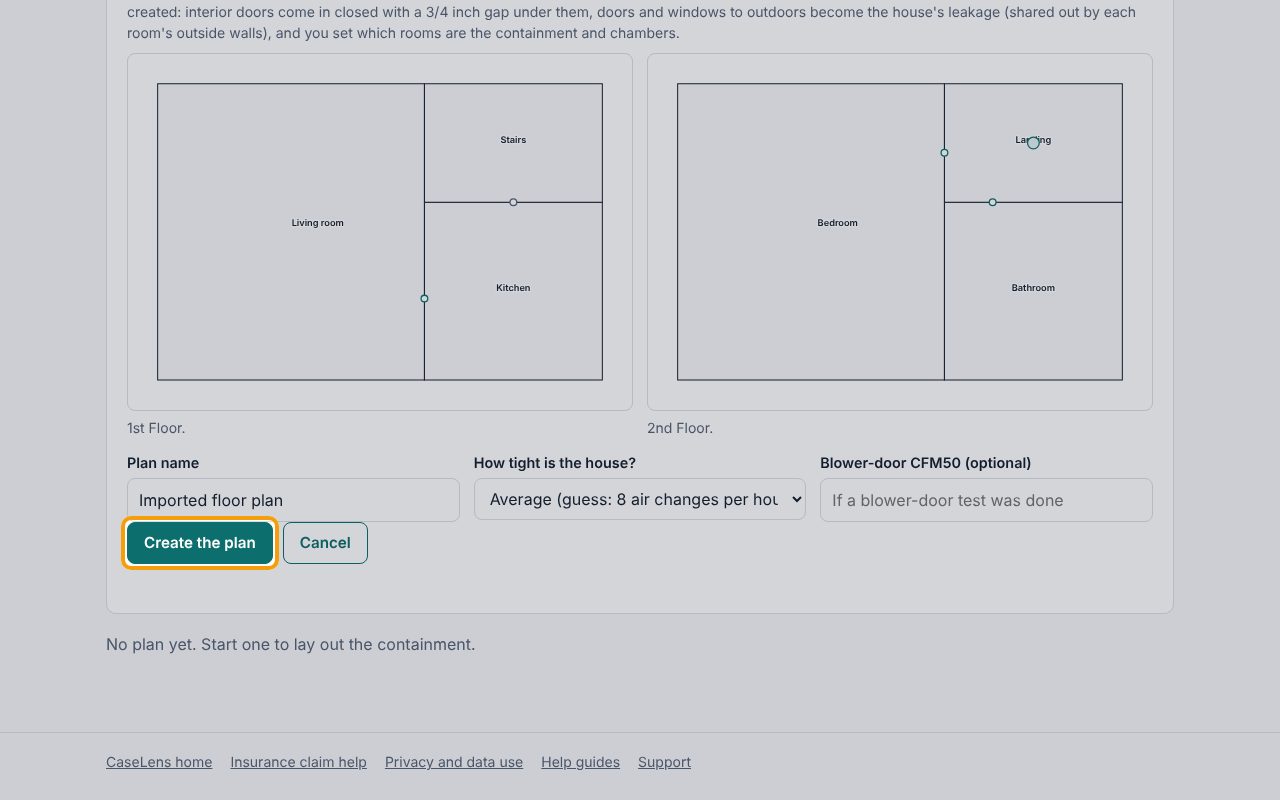
Choose How tight is the house? (a rough guess) or enter a blower-door CFM50 if it was tested; a measured number replaces the guess. The plan is named Imported floor plan, never after the file (file names often carry the address). Click Create the plan.
4Your floors and floor plan
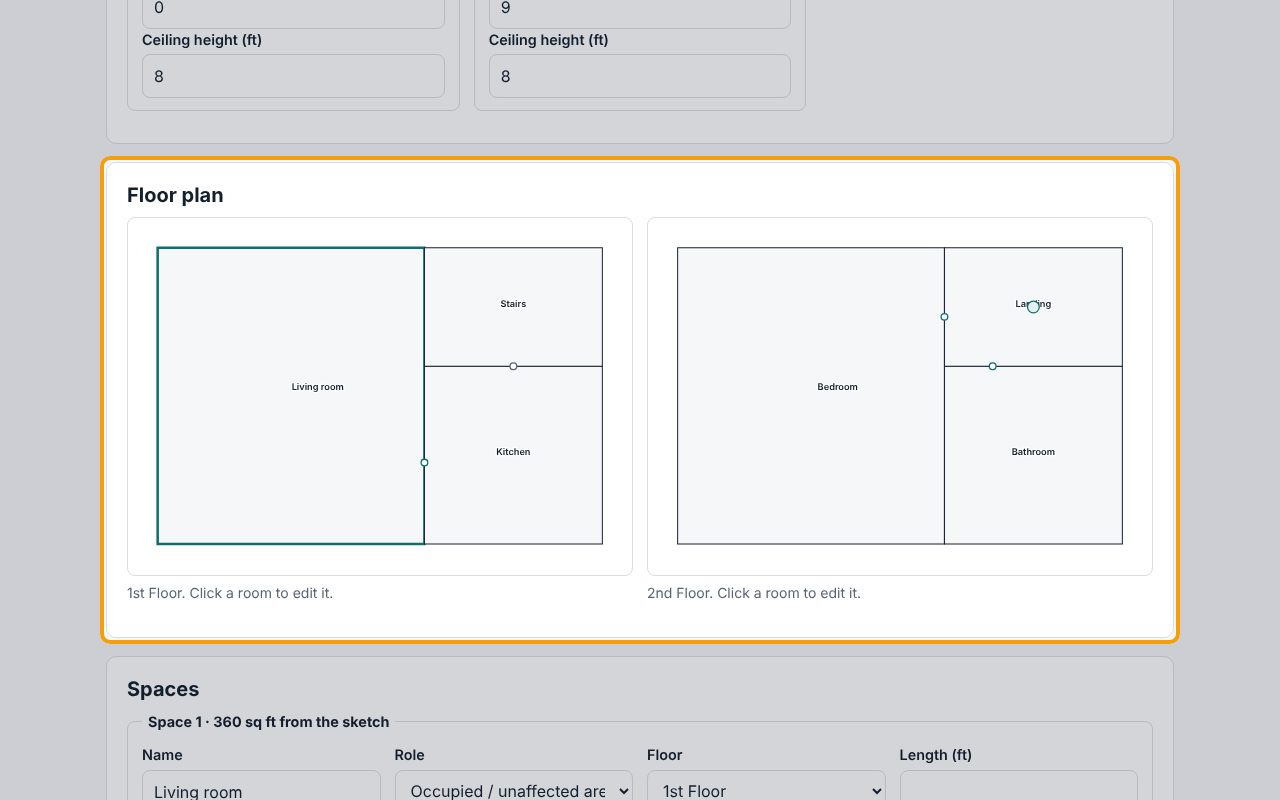
The plan opens with a Floors card and a Floor plan drawing of each floor. Every room is a space; inside doors come in closed with a 3/4 inch gap under them; doorways stay open; stairs join the floors.
5Click the room you're containing
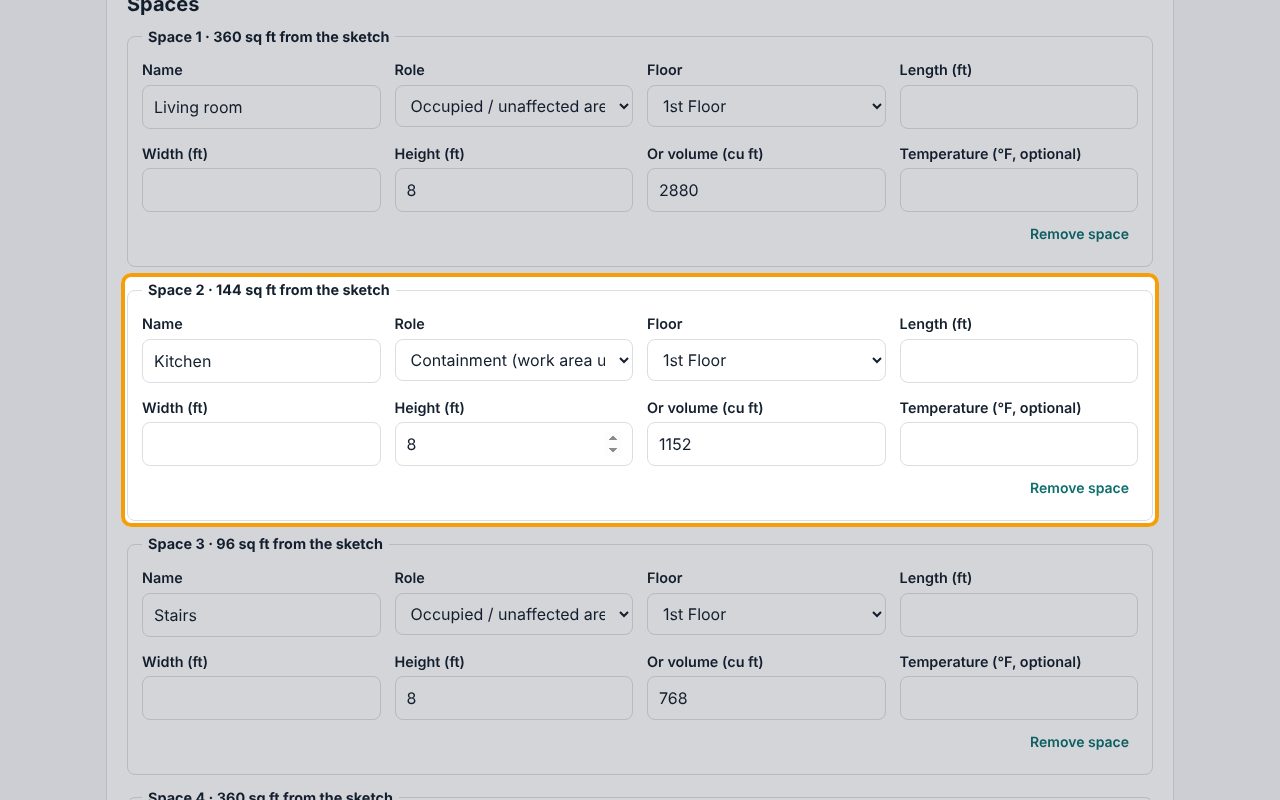
Click the room on the drawing (here the Kitchen). CaseLens takes you to that space's details: set its Role to Containment (work area under negative air), and the drawing shades it as the containment. Name any room marked needs a name so the results read clearly.
6Finish like any plan
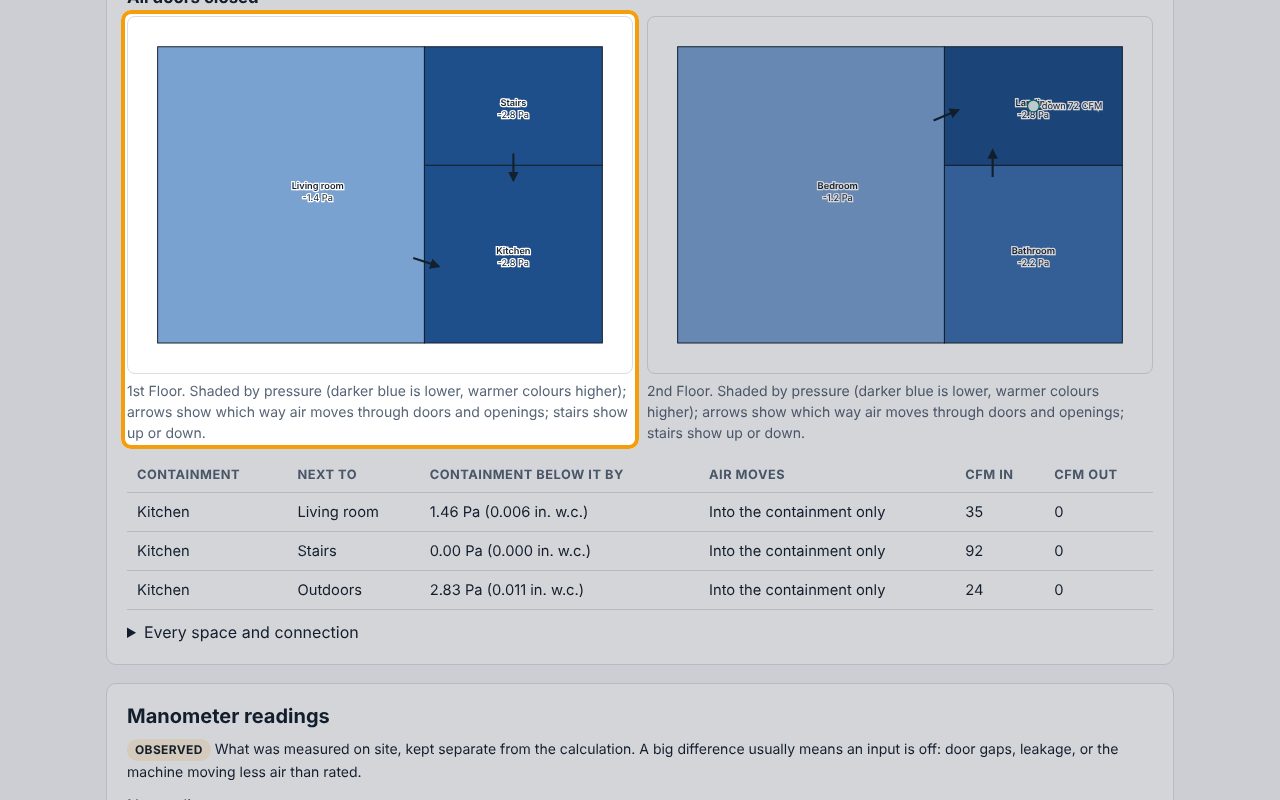
Finish as in the guide Plan a containment and check its airflow: change each opening you seal with plastic to a zip door with its gaps (step 4), add the negative air machine (here Add the 1 air scrubber on site, set to the 150 CFM it really moves; step 6), and set the egress route and any target (steps 7 and 8). Then click Save plan and Calculate. The results draw each floor shaded by pressure, with arrows through doors and up or down the stairs.
If something goes wrong
- Couldn't read that file
- It isn't a sketch export. In DocuSketch or Xactimate, export the sketch as .esx and try again. A PDF of the sketch won't work.
- A floor has no stairs to it
- The sketch didn't mark the stairs. Add a Stairs or opening between floors connection yourself between the room at the bottom and the room at the top.
- A room says needs a name
- The sketch called it "Unknown room". Type its real name so the results are easy to read.