Plan a containment and check its airflow
Lay out the containment, chambers, zip doors and negative air machine, and see which way air moves through every door and gap before you build it. About 10 minutes.
Watch it (2:23, no sound)
- A job in CaseLens Pro. If your air scrubbers are already in the job's Equipment tab, the planner can add them for you.
- Rough sizes of each space (length, width and ceiling height in feet) and of each door.
- Optional: the house's blower-door number (CFM50) if it was tested, and your target pressure if the responsible professional set one.
Step by step
1Open the Containment & airflow tab
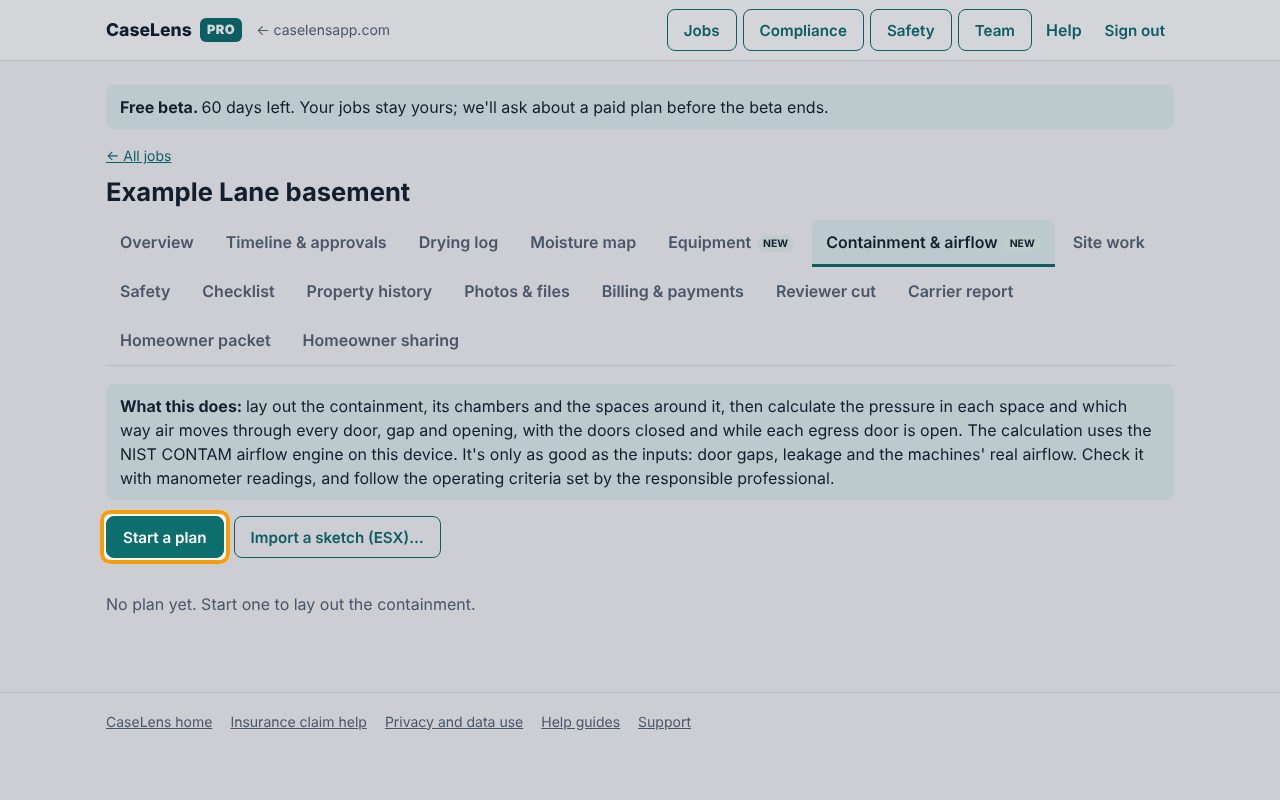
Open the job and click the Containment & airflow tab. It explains what the calculation does and its limits. Click Start a plan. (If you have the job's DocuSketch or Xactimate sketch, see the guide on importing a sketch instead.)
2Add the containment
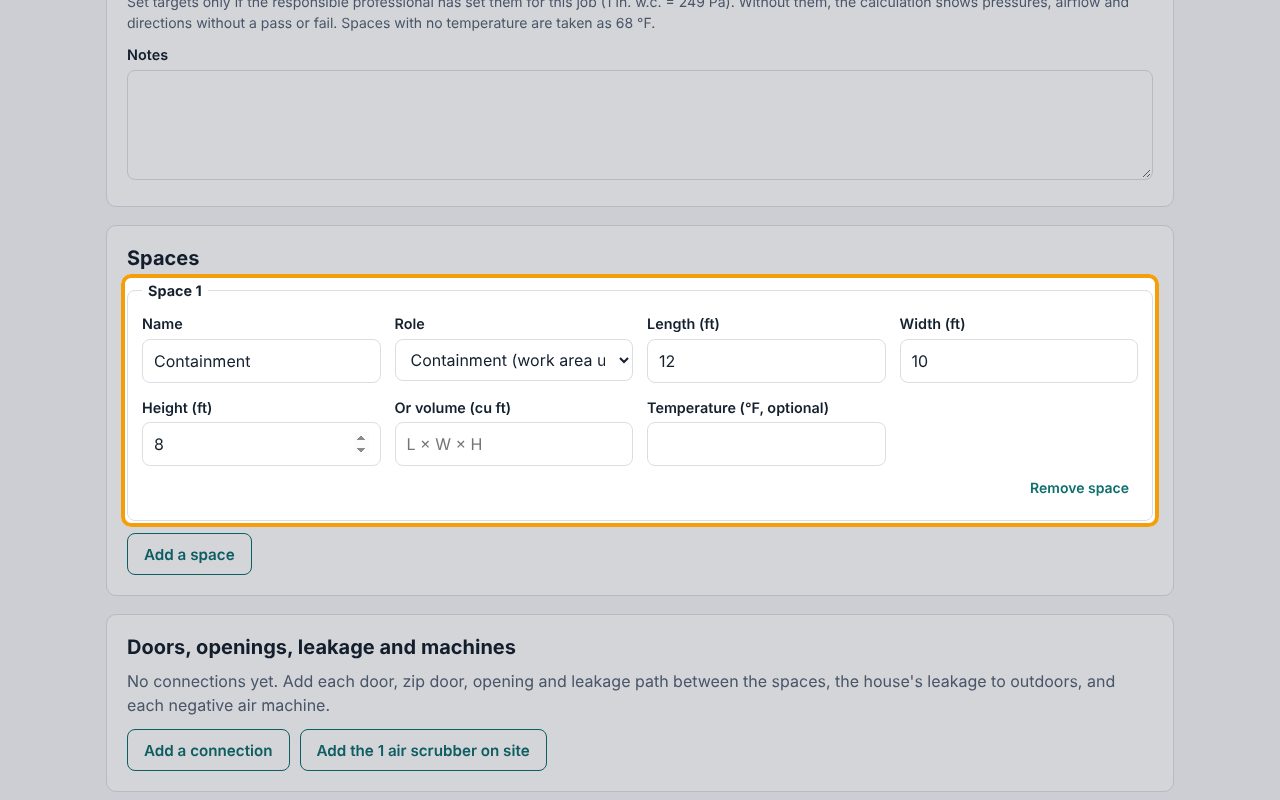
Under Spaces, click Add a space. Name it, set Role to Containment (work area under negative air), and enter its Length, Width and Height in feet (or the volume if you know it).
3Add the chambers and the house
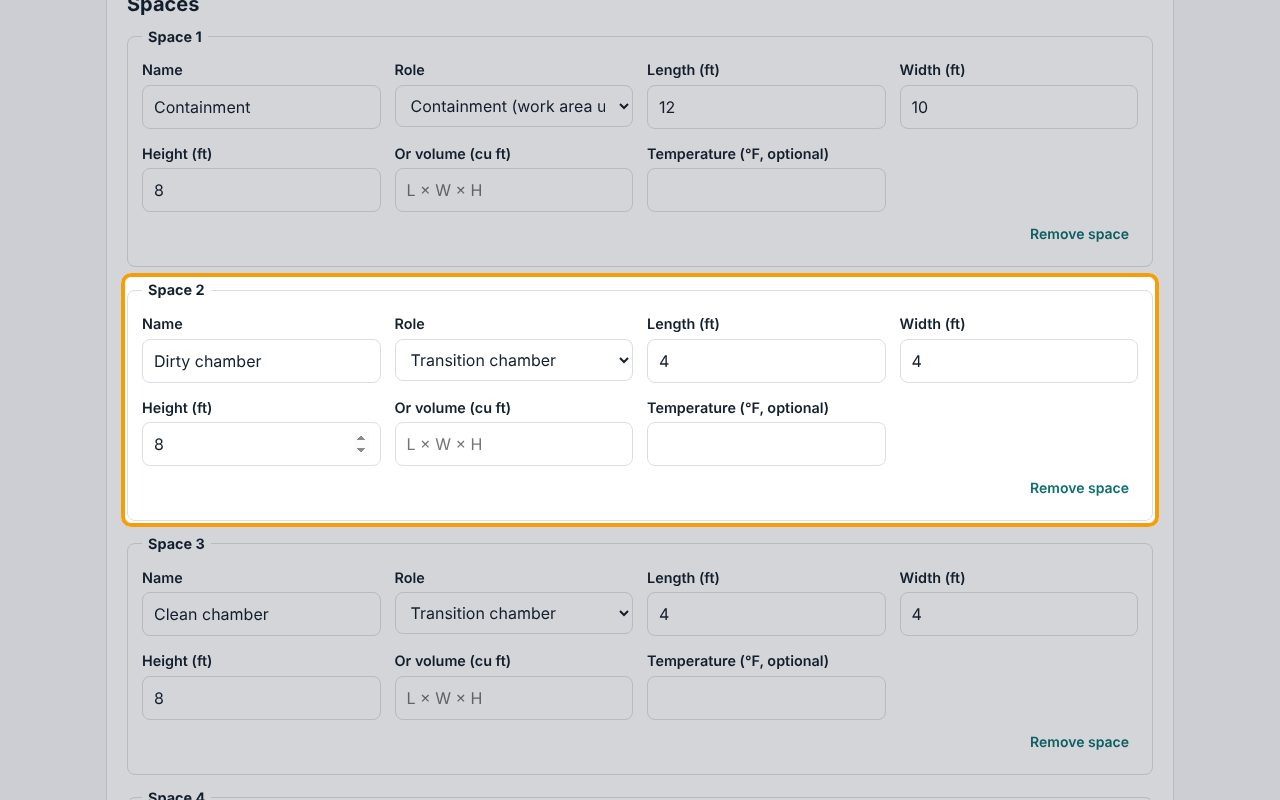
Click Add a space again for each decon chamber, with Role set to Transition chamber (here Dirty chamber and Clean chamber, 4 × 4 × 8 ft). Then add the rest of the house as one space with Role set to Occupied / unaffected area. For the house, a volume is easiest (floor area × ceiling height, for example 1,500 sq ft × 8 ft = 12,000 cu ft).
4Add the doors between spaces
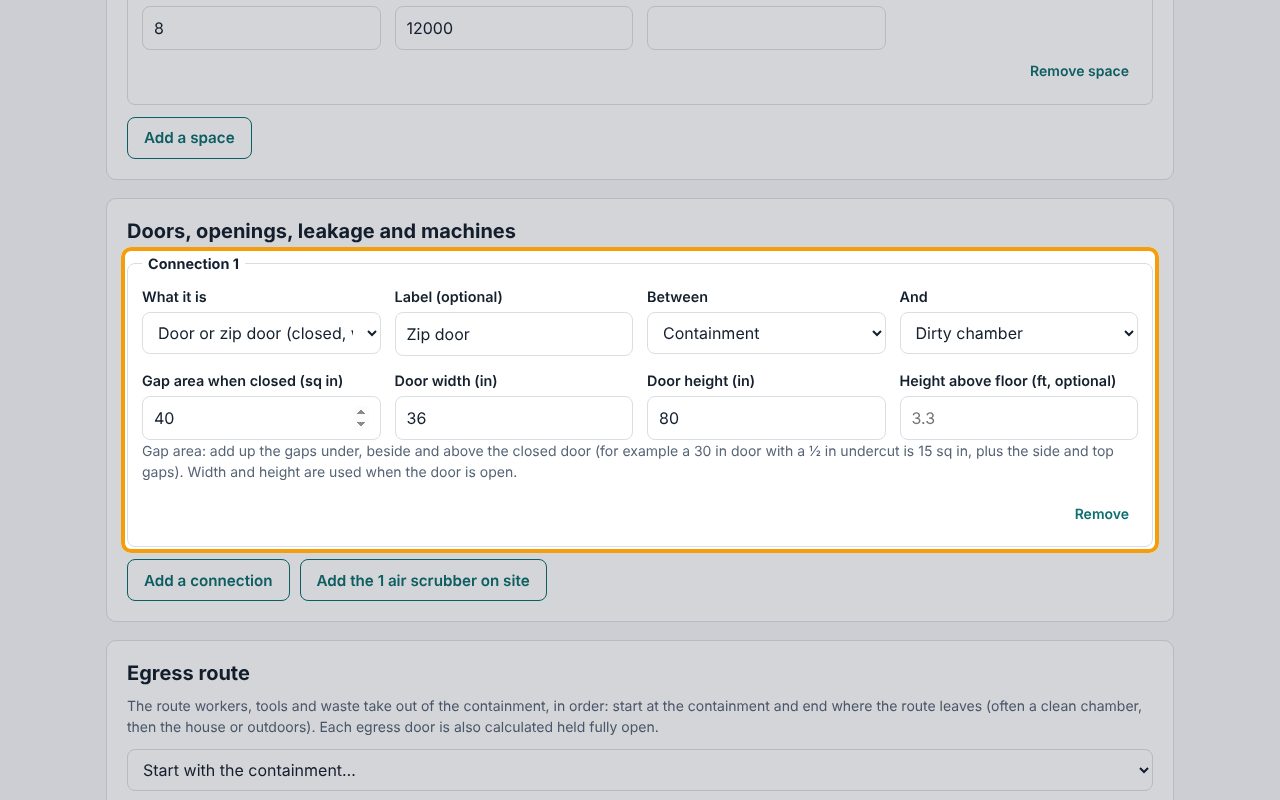
Under Doors, openings, leakage and machines, click Add a connection. Set What it is to Door or zip door (closed, with gaps), choose the two spaces it joins under Between and And, and enter the Gap area when closed in square inches, plus the door's width and height for when it's held open. The hint under each kind explains how to estimate it.
5Add the leaks and the house's leakage
Add the leakage through the plastic and walls as Leakage (seams, penetrations) in square inches, and the house's leakage as Building leakage to outdoors (blower door) using its blower-door CFM50 (a rough guess if it wasn't tested). These numbers decide how strongly the machine pulls air in, so use measured values when you can.
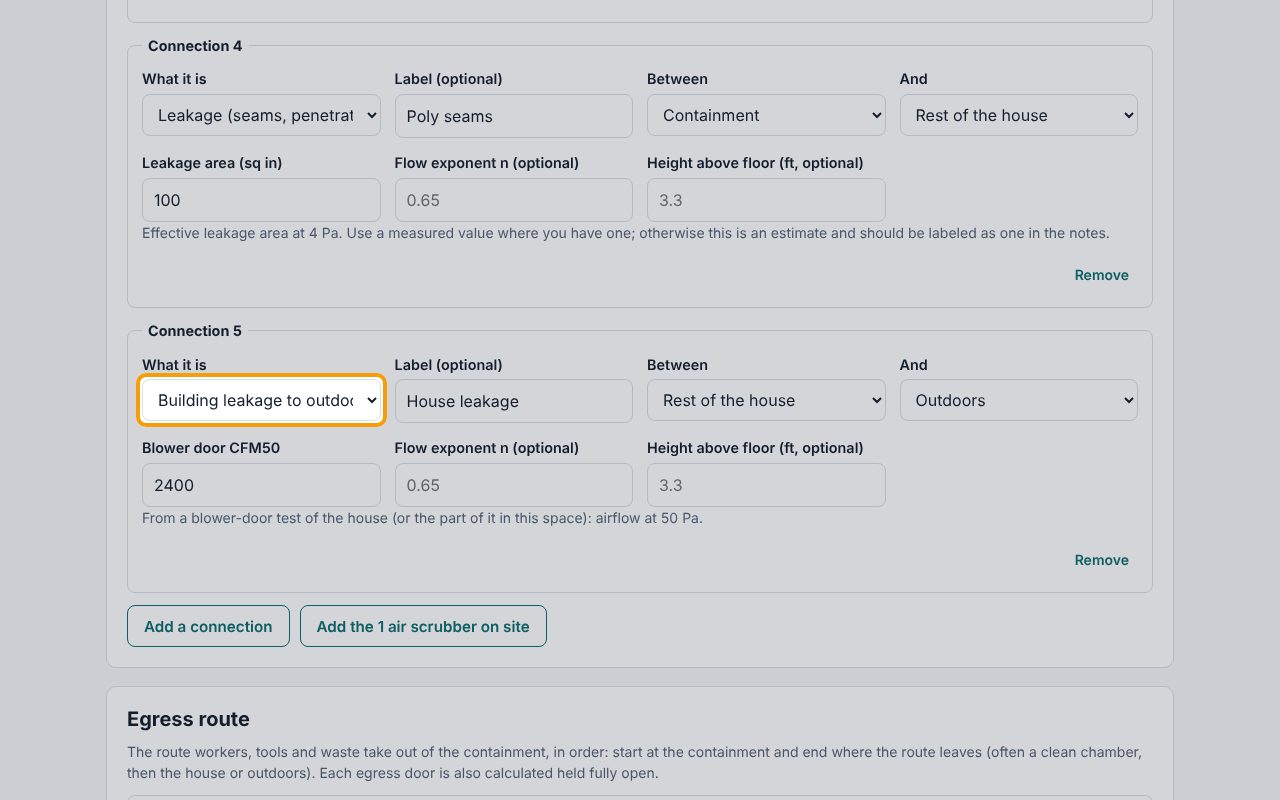
6Add the negative air machine
Click Add the 1 air scrubber on site to bring in the machines from the job's Equipment log (here Example 500 CFM unit), or add a connection with What it is set to Negative air machine / exhaust fan. Set it to take air from the containment (Takes air from) and blow it Outdoors (Blows it into). Under Airflow (CFM), enter the airflow you actually get: a machine's rated CFM is usually higher than what it moves with loaded filters and ducting.
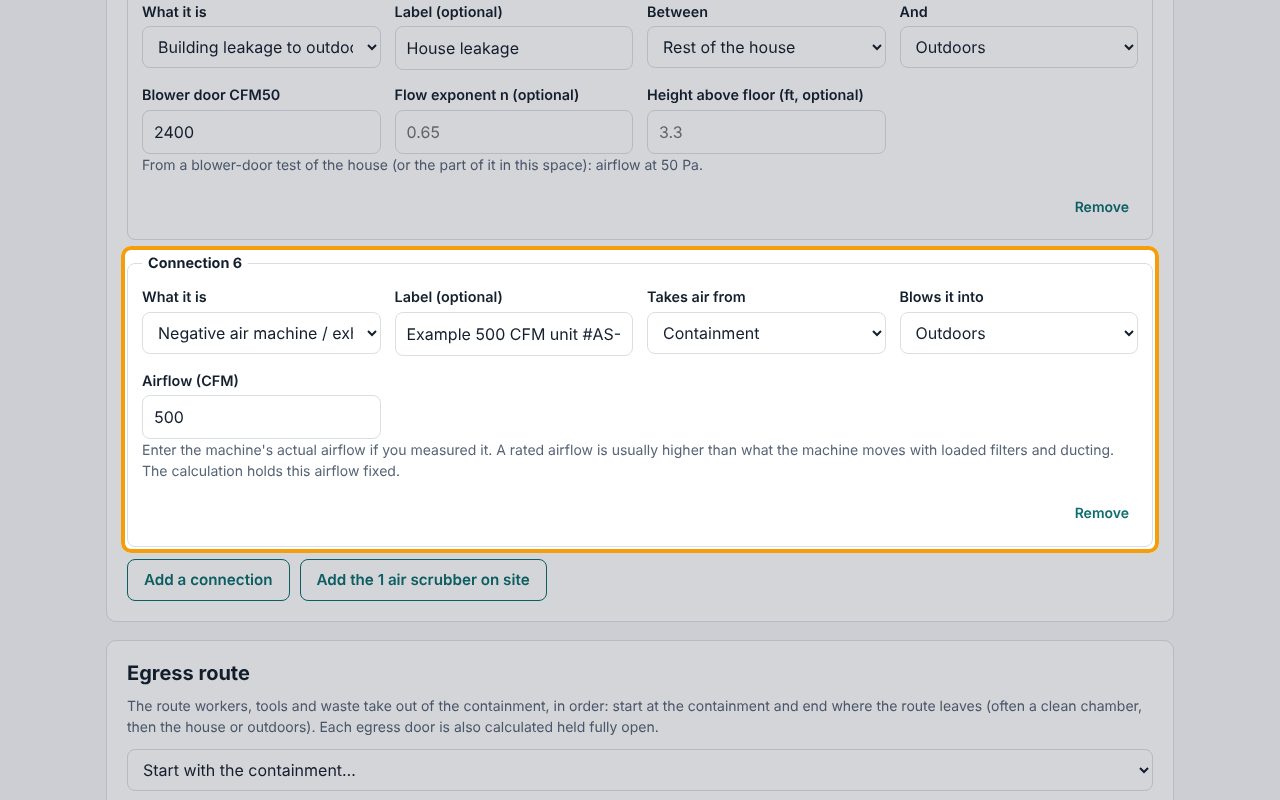
7Set the way out
Under Egress route, pick each space from the list in the order workers walk out: the containment first, then each chamber, then where the route leaves (here the rest of the house). Each door on the route is also calculated held fully open.
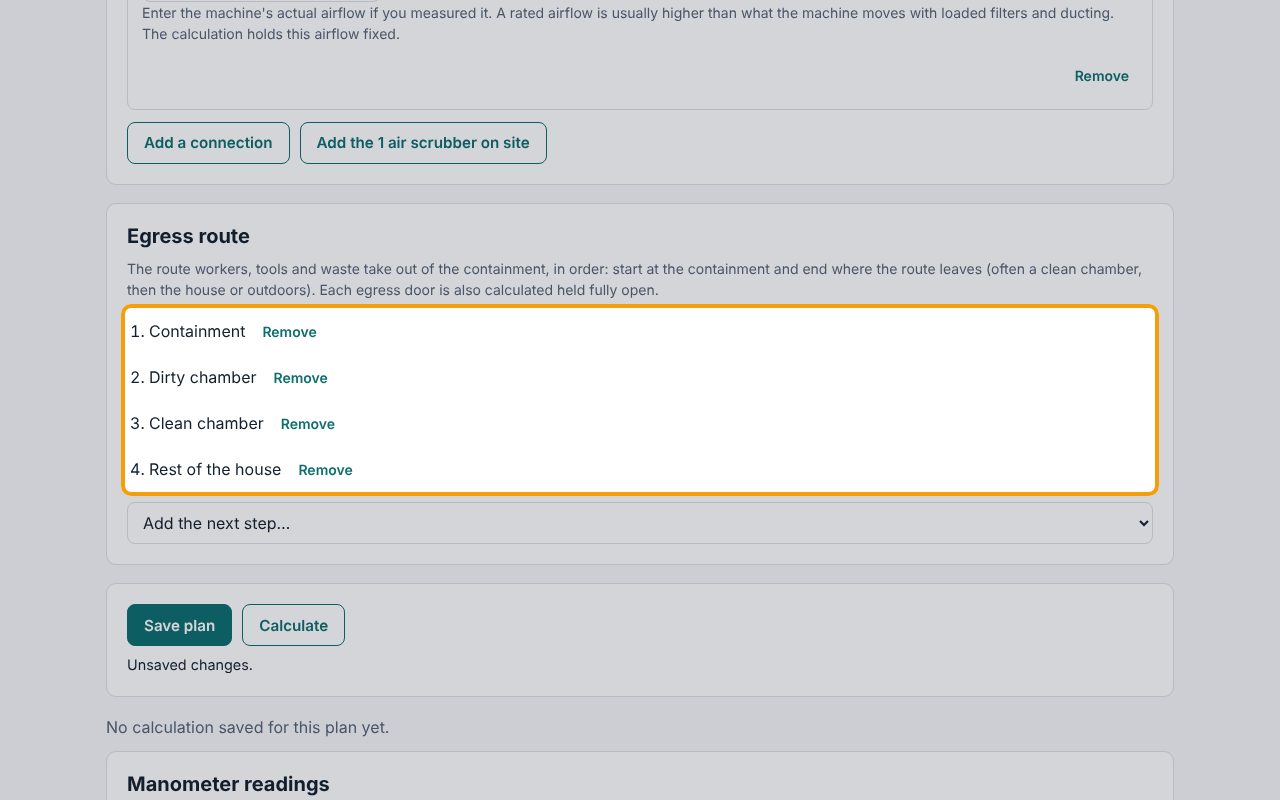
8Set the target, save and calculate
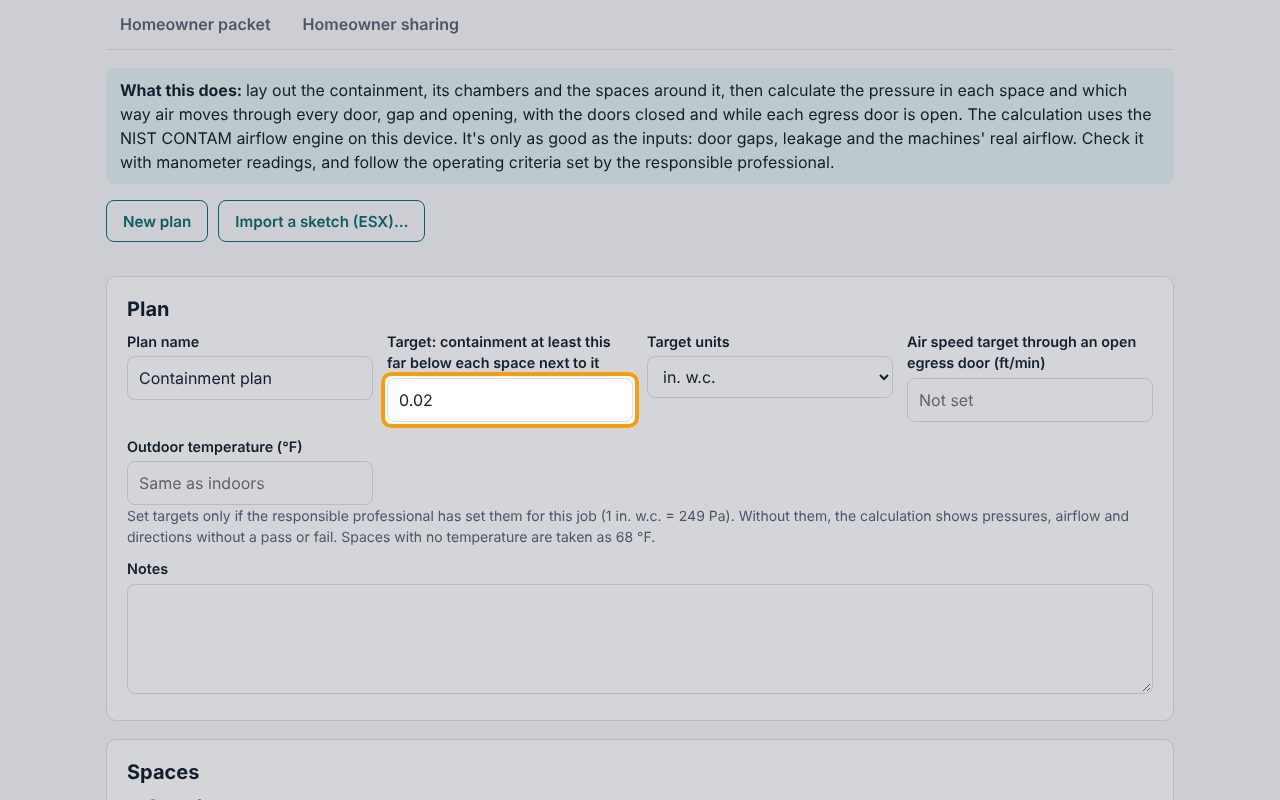
If the responsible professional set a target, enter it at the top under Target: containment at least this far below each space next to it and pick the Target units (in. w.c. or Pa); here 0.02 in. w.c. Then scroll down and click Save plan, then Calculate. The calculation runs on your own device with the NIST CONTAM airflow engine, for all doors closed and with each egress door held open. It takes a few seconds.
9Read the results
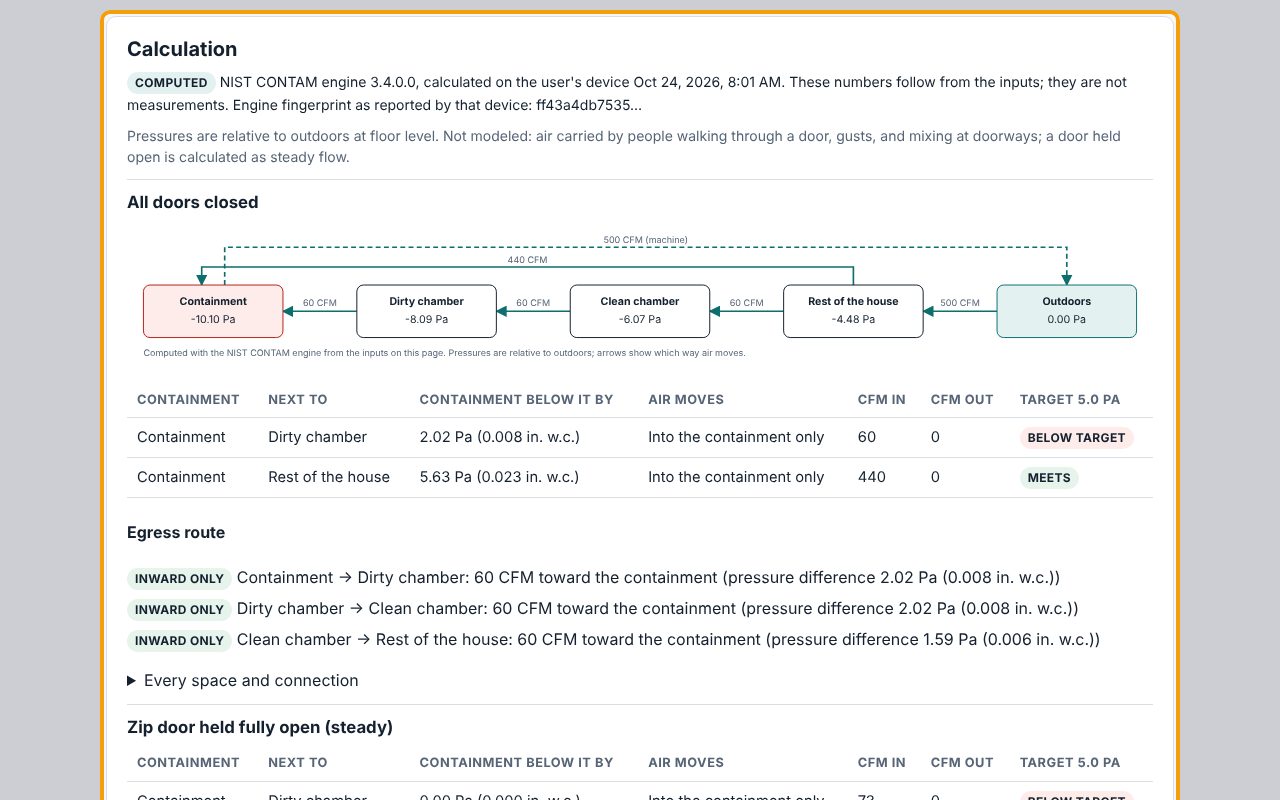
Under Calculation you see each space's pressure and which way air moves through every door and gap. A step passes (Inward only) only when no air moves away from the containment. If you set a target, each space next to the containment shows Meets or Below target: here the containment is only 2.02 Pa below the dirty chamber, under the 5.0 Pa target. Results are labeled Computed: they follow from your inputs and aren't measurements.
10Compare with your manometer
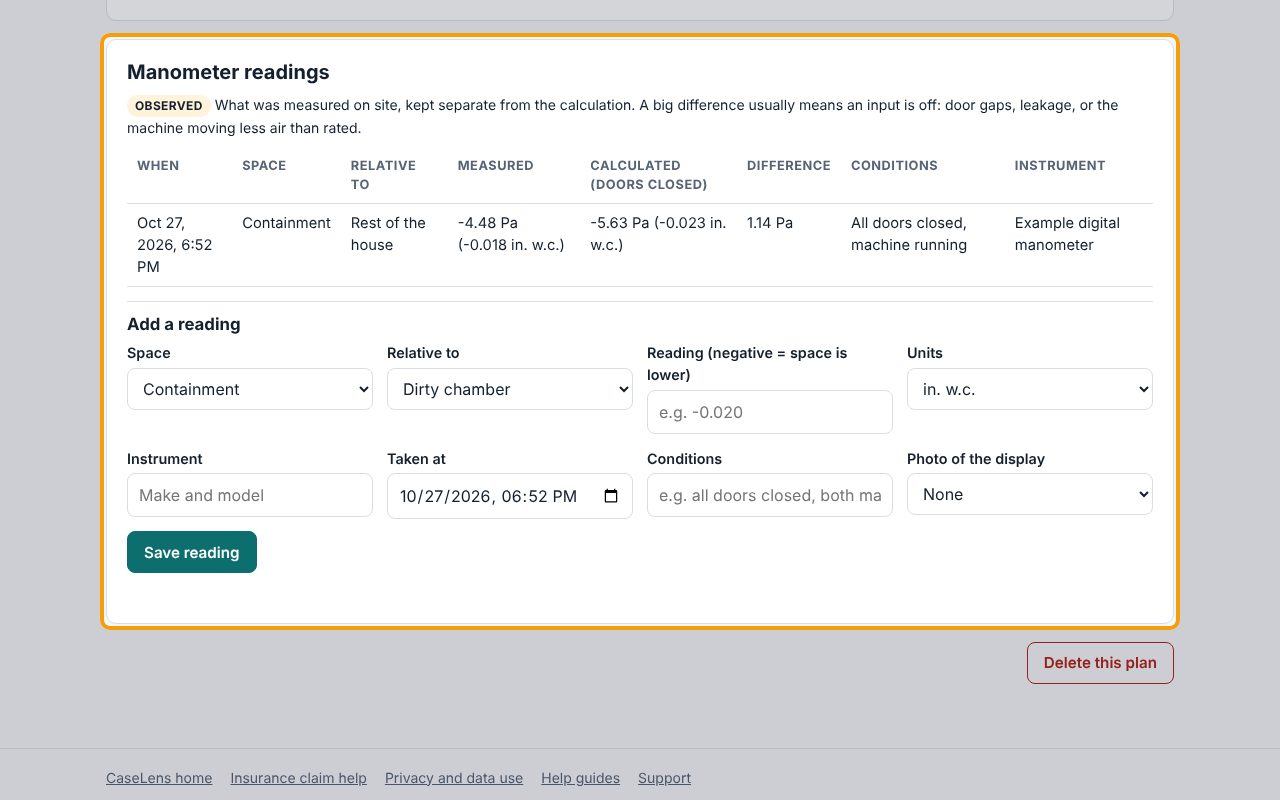
Once it's built, measure the pressure across the containment with a manometer and add it under Manometer readings → Add a reading (negative means the space is lower), with the instrument and the conditions. Click Save reading. CaseLens lists it, labeled Observed, next to the calculated value and the difference. A big difference usually means an input is off: a gap, the machine's real airflow, or the house leakage.
If something goes wrong
- A space next to the containment says Below target
- The containment isn't far enough below that space. Add airflow (a second machine, or a bigger one), or tighten the gaps between them (seal the poly seams, tape the zip door), then click Calculate again.
- The results say Check inputs instead of a pass
- The machine would have to work against more pressure than is realistic (over 0.5 in. w.c.). Check the machine's airflow and the gap areas; a containment sealed tighter than real life does this.
- The results say Out of date
- You changed the plan after calculating. Click Calculate again.
- Both ways through an open door
- Warm and cool air swap through a doorway even with the machine running (warm out the top, cool in the bottom). Keep doors closed except to pass through, or add a chamber.
- It won't calculate
- The message lists what's missing, for example a space with no size or a connection with no second space. Fix those and calculate again.